Now let me tell you a little bit about my relationship with Len she truly is my only friend. If I'm having a crisis no matter what time, day or night, she is the person I can call, I say call because she lives about 4 hours away from me, we don't get to see each other very often, but even with only being able to communicate over the phone we still consider each other BF'S. Now as awesome of all that is she is seriously talented and I hope to have 1/2 of her talent someday, I also hope that someday I will get one of the rice packs that she has talked about for years (HINT: I have a birthday coming up), seriously I've been asking for one for about 2 years now. Just look at this cute purse she made for a birthday present.
And I love this outfit she made for her youngest daughter
Now the coolest project yet has to be this project below, I am so grateful that she was willing throw something together for so off to an extremely talented mother, crafter, wife, best friend, and teacher.
Hello my name is Len and my creative space in blog land is called Crafty Homeschool. I am a homeschooling mother of three very wild kidos ages 2, 5, and 7. I was so excited when my BF Athena asked me to do a guest post for her.
I was on Moms of all Trades and she made a rock mat for her husband’s work boots. It gave me an idea to bring a little beach indoors. Beaches are very calming to me and are fun, both of which I think my house could use a little more of. I wanted to make a welcome mat but the epoxy for outdoor use was $55 (a little out of my budget). Then I thought about making a bath mat but I like my really plush bath mat. I finally decided on a mat to go in front of the shoe bench in my entryway (ok I don’t have one yet, someday, a girl can dream right). Imagine with me for a minute this lovely bench/kid organizer in my entry with my beach mat right in front of it. Lovely, don’t you think?
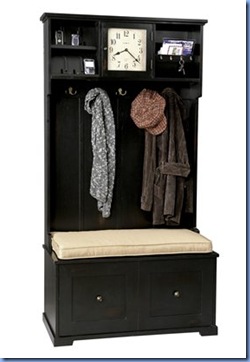
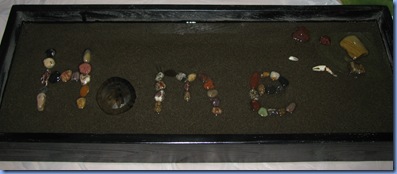
Sorry the picture is a little dark (lack of lighting). Ok, here is how you make the beach mat.
Items you will need:
-Board. Mine was 3/4” plywood that was cut to 10”x32” (long and skinny).
-Sandpaper
-Primer and paint (I used spray on primer and spray paint, much easier)
-Two part epoxy ( it’s spendy but worth the price, order it online, it’s cheaper) KEEP KIDS AWAY and you may want to do it outdoors (smelly for a couple of days) and leave it in a box to keep dirt out until it’s dry. Also make sure you get enough to cover the entire project (should say sq ft covered).
-Rocks and sand (we took a trip to the river and made a day of playing and gathering sand/rocks, the kids didn’t mind one bit)
-Molding or whatever you want your trim to be
-Caulk (any kind) If you don’t have a gun they do make it in a squeeze tube.
-Scrap felt or fleece for feet (so your floors don’t get scratched) and glue (I used hot glue).
How to:
#1- Cut molding/trim to the correct size to go along the outside of your plywood.
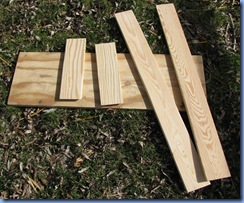
#2- Sand the plywood
#3- Make your “box”. Install the molding around the outside of your plywood sheet making sure that you leave a lip on the top. (If you have paintable caulk then you can do step #6 also)
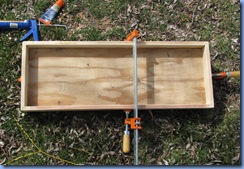
#4- Prime and paint the entire box, let dry. (I had paintable caulk)
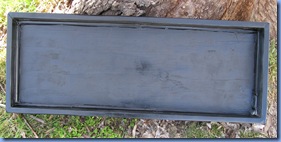
#5-Flip over the box and hot glue the “feet” onto the bottom, not necessary if it will be on carpet.
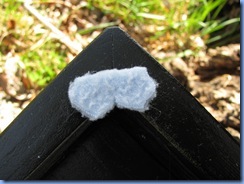
#6- Caulk around the inside of your box, it doesn’t have to look nice it’s just to keep the sand and epoxy from ending up everywhere. Let it dry.
#7- Pour in sand to the desired level.
#8- Arrange your rocks in the box (fun for kids to do)
#9- Mix the epoxy (read the directions carefully and follow them exactly). Make sure the floor is protected (just in case). Pour epoxy over the entire thing, SLOWLY.
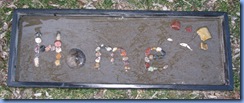
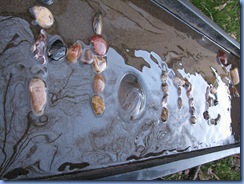
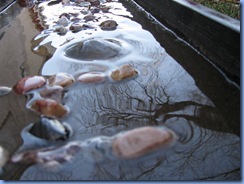
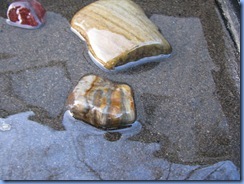
#10- Let it sit the specified time, wipe off extra sand dust. Now stand back and admire your indoor beach.


No comments:
Post a Comment